


The Perfect Piping Process
Ok, so, I couldn't resist a little bit of alliteration in the title. I decided to work on a project recently using flat piping, which is basically a fancy name for bias tape inserted into the seam. I have had no trouble in the past sewing normal piping (which is also just bias tape, but with cord inserted into it) but as I sewed and re-sewed and re-sewed each seam, I found the width of my piping was varying widely and I couldn't get it to look right. When using 'normal' piping, you can feel the edge of the piping to keep it inserted in the correct position next to your needle, but not always the case when using flat piping, especially if you use a thick fabric like me. After trying multiple ways, I finally figured out a method that got me pretty consistent piping width every time.
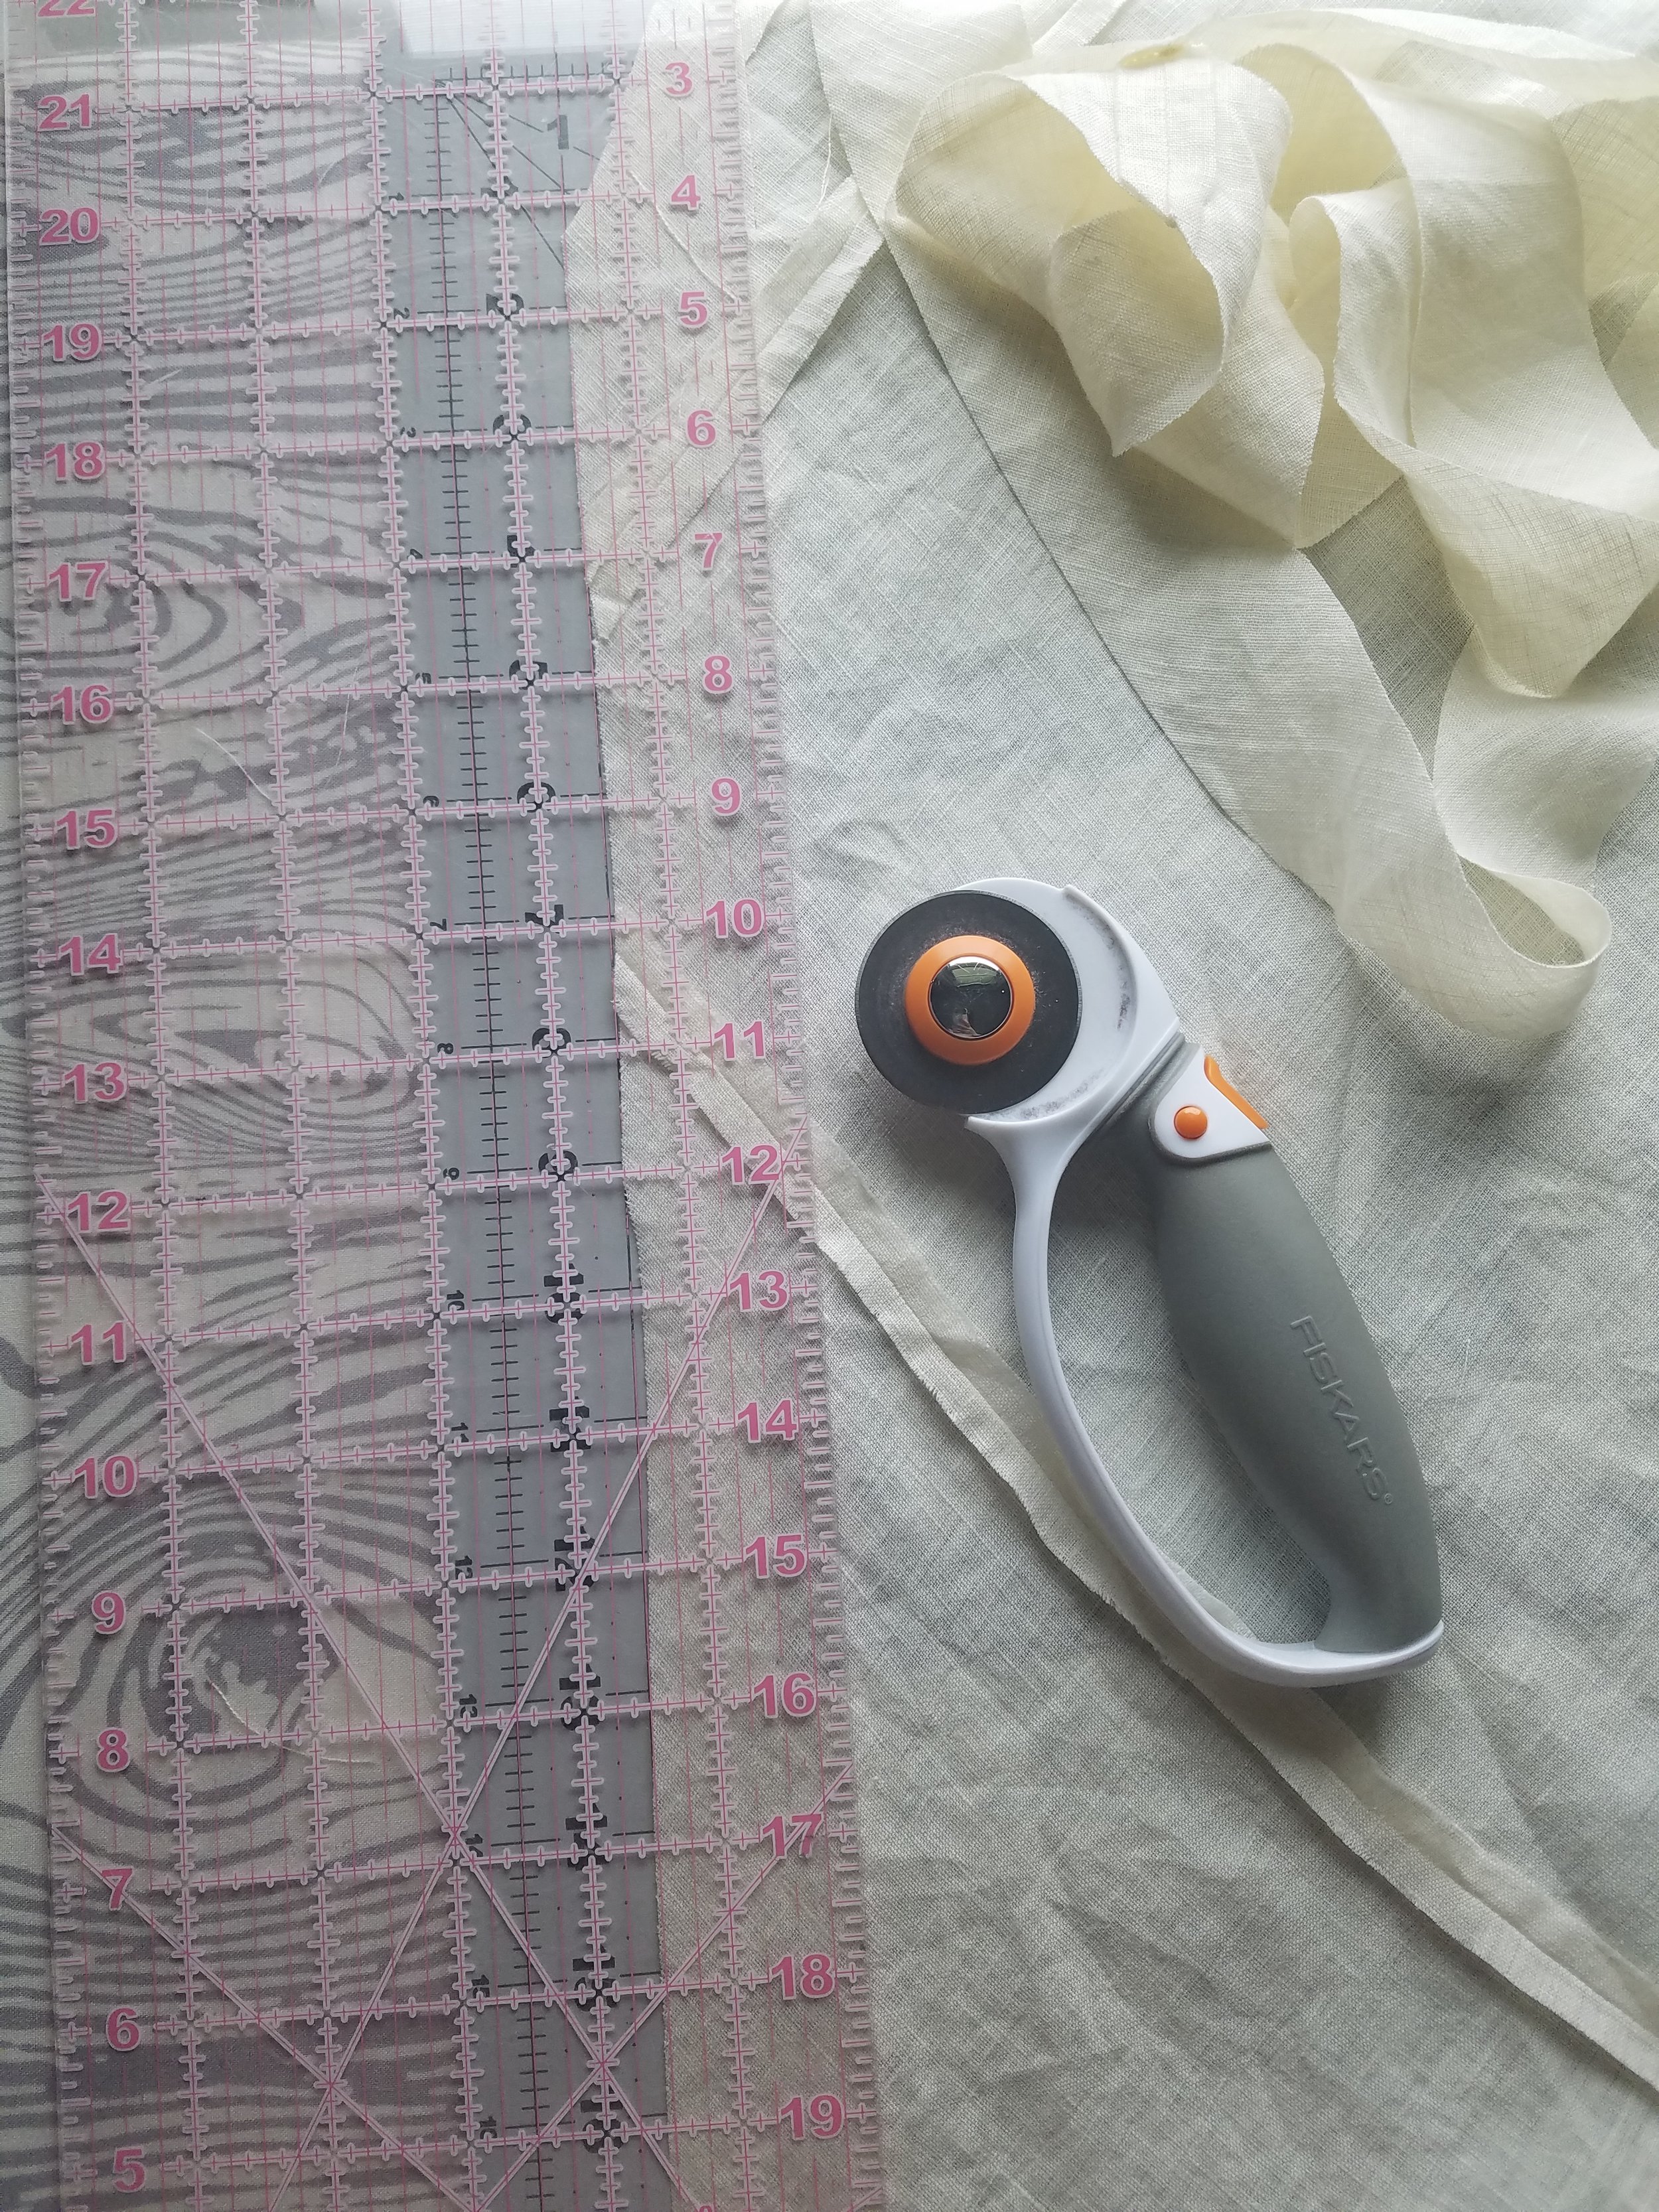
The base of my problem was that I made my own bias tape/piping. And while I enjoy making my own bias tape (and recently figured out a way to make continuous bias tape easier, by sliding a small cutting mat inside my loop and cutting with my rotary cutter), the truth is I never get it quite perfect. Which is fine for binding most things, but the ideal way to do flat piping would be to just line up the edge of your piping with the edge of your fabric, and that's where I was going awry.

To start, I had to decide which pieces I was going to add my piping to. Piping has a direction, and so if you assume you are always going to press your seams open, you need to think about which side of that seam you want the piping to be on. On items like straps or binding pieces, where the piping will stick out the edge, the direction doesn't matter, but you need to make the decision in areas like side seams and waist seams. And whichever direction you want your piping to face, you need to sew it to the opposite piece. So if you want your side seam piping to face the front, you need to attach it to the back of your skirt, etc.

Then I thought about how thick I wanted my piping to be, or basically how far I wanted it to stick out of my seams. I decided I wanted out a little more than 1/4", or about 5/16". I added that amount to my seam allowances (in this garment, which was 5/8") for a total of 15/16". On the pieces I had picked out to sew my piping to, I ran a basting stitch on my machine, using my needle plate to help me keep the basting line exactly at that number I had determined. I used a contrasting thread here so it would be easy to see.

Next, I took my piping and keeping my stitch length at a basting length, basted my piping to the pieces within the seam allowances (so, less than 5/8"). As I sewed, I kept the edge of the piping aligned with the basting stitches I had marked out for my guide. I found this really useful especially on curves! You could/should use pins here to hold your piping in place, but I don't use a lot of pins, especially when I'm sewing straight lines.
Once I was sure my piping was in place exactly along my guide line, I removed the first round of basting stitches, and gave my pieces a good press. You can see here how much the edge of the piping varies with the edge of the fabric, but I promise the piping will be perfectly straight in the end!


Then it was time to sew my actual seams. Remember to switch back to a matching thread color and normal stitch length! Again, you should probably pin your pieces together here because you want the edges of your fabric to be aligned perfectly. I can't say whether or not I used these wonder clips purely for the picture and not actually when I was sewing. Then you sew your seams, paying extra special attention at keeping the seam allowance exactly what it is supposed to be (in this case, 5/8")
Once the seam is done, press your seam allowances open, double checking your piping isn't folded over anywhere. This is where it becomes obvious why you put your piping on the opposite side-when you press your back seam allowance back, it pushes the piping to the front of the seam.


And for once, the piping came out perfectly even! This method was easier and quicker than other methods I'd tried, which had involved fiddling with a seam gauge and doing a lot of hand basting. I used this method to add piping to my new Fiona Sundress from Closet Case Patterns, which I was lucky enough to pattern test for! (Yes of course-I choose to majorly up the difficulty level on an untested pattern I'm looking for instruction errors on. Sounds about right for me.). But I'm so glad I did, because while the back of this dress is stunning, it's even more so with all the lines outlined in stark contrast!

I had to slightly alter the construction order to add the piping, with the biggest change being the front button band. The original pattern does not include a separate button band, and simply has you folding over the front edges to create the base for the buttons. Which is fine, but it meant my button band wouldn't be fully outlined with piping and would have the waist seam in the middle of the buttons, so I lopped that part of the pattern off at the fold lines, added back seam allowance to the front pieces, and joined the bodice and skirt pieces so it was one long piece. Then I added the piping to the band (both sides had bands but I only piped the right piece since it would wind up in front) and attached the band back on. Adding a band on this way messes with the order of sewing on the top band, since on the backless view you have to add that band before you attach the bodice to the skirt. To get around that, I just left the front part of the band unattached until the skirt was attached, then sewed on the button band and finished off the top band. Since I saved the top stitching for the end (and I didn't top stitch so much as stitch-in-the-ditch in a color matching the piping so it's hidden) you can't even tell I attached the top band in two steps.

This pattern is awesome! The open back shows off just the right amount of skin, while the criss-crossed straps keep everything feeling secure and in place, even without wearing a bra. I know there are a lot of buttons (and I did less than recommended in the pattern, the benefits of having a small bust), once I got my requisite 5 test button holes out of the way (which end do I need to start on again?) they actually went really fast on my machine! And I cheated a bit at attaching the buttons, since I used jeans buttons and had my boyfriend hammer them on for me because I couldn't hit them hard enough ;).

I just looove the bodice on this dress, and have plans to make it again! I think it would be super cute with a peplum attached to the bottom for a easy summer top (maybe make the peplum detachable or forgo it if you're comfortable wearing a crop?) or how amazing would it be paired with the button front version of the Jenny Shorts for an amazing summer romper?

Are you going to make the new Fiona Sundress? Which view is your favorite? There were so many beautiful makes by the tester group, make sure you check them all out for inspiration on Instagram under the #FionaSundress!

