


Mood Sewing Network: Vintage McCall's Blouse
Disclaimer: Mood provided me this fabric in exchange for this post. All opinions are my own. Shop at Mood with the promo code “MSNJenn” for 10% off!

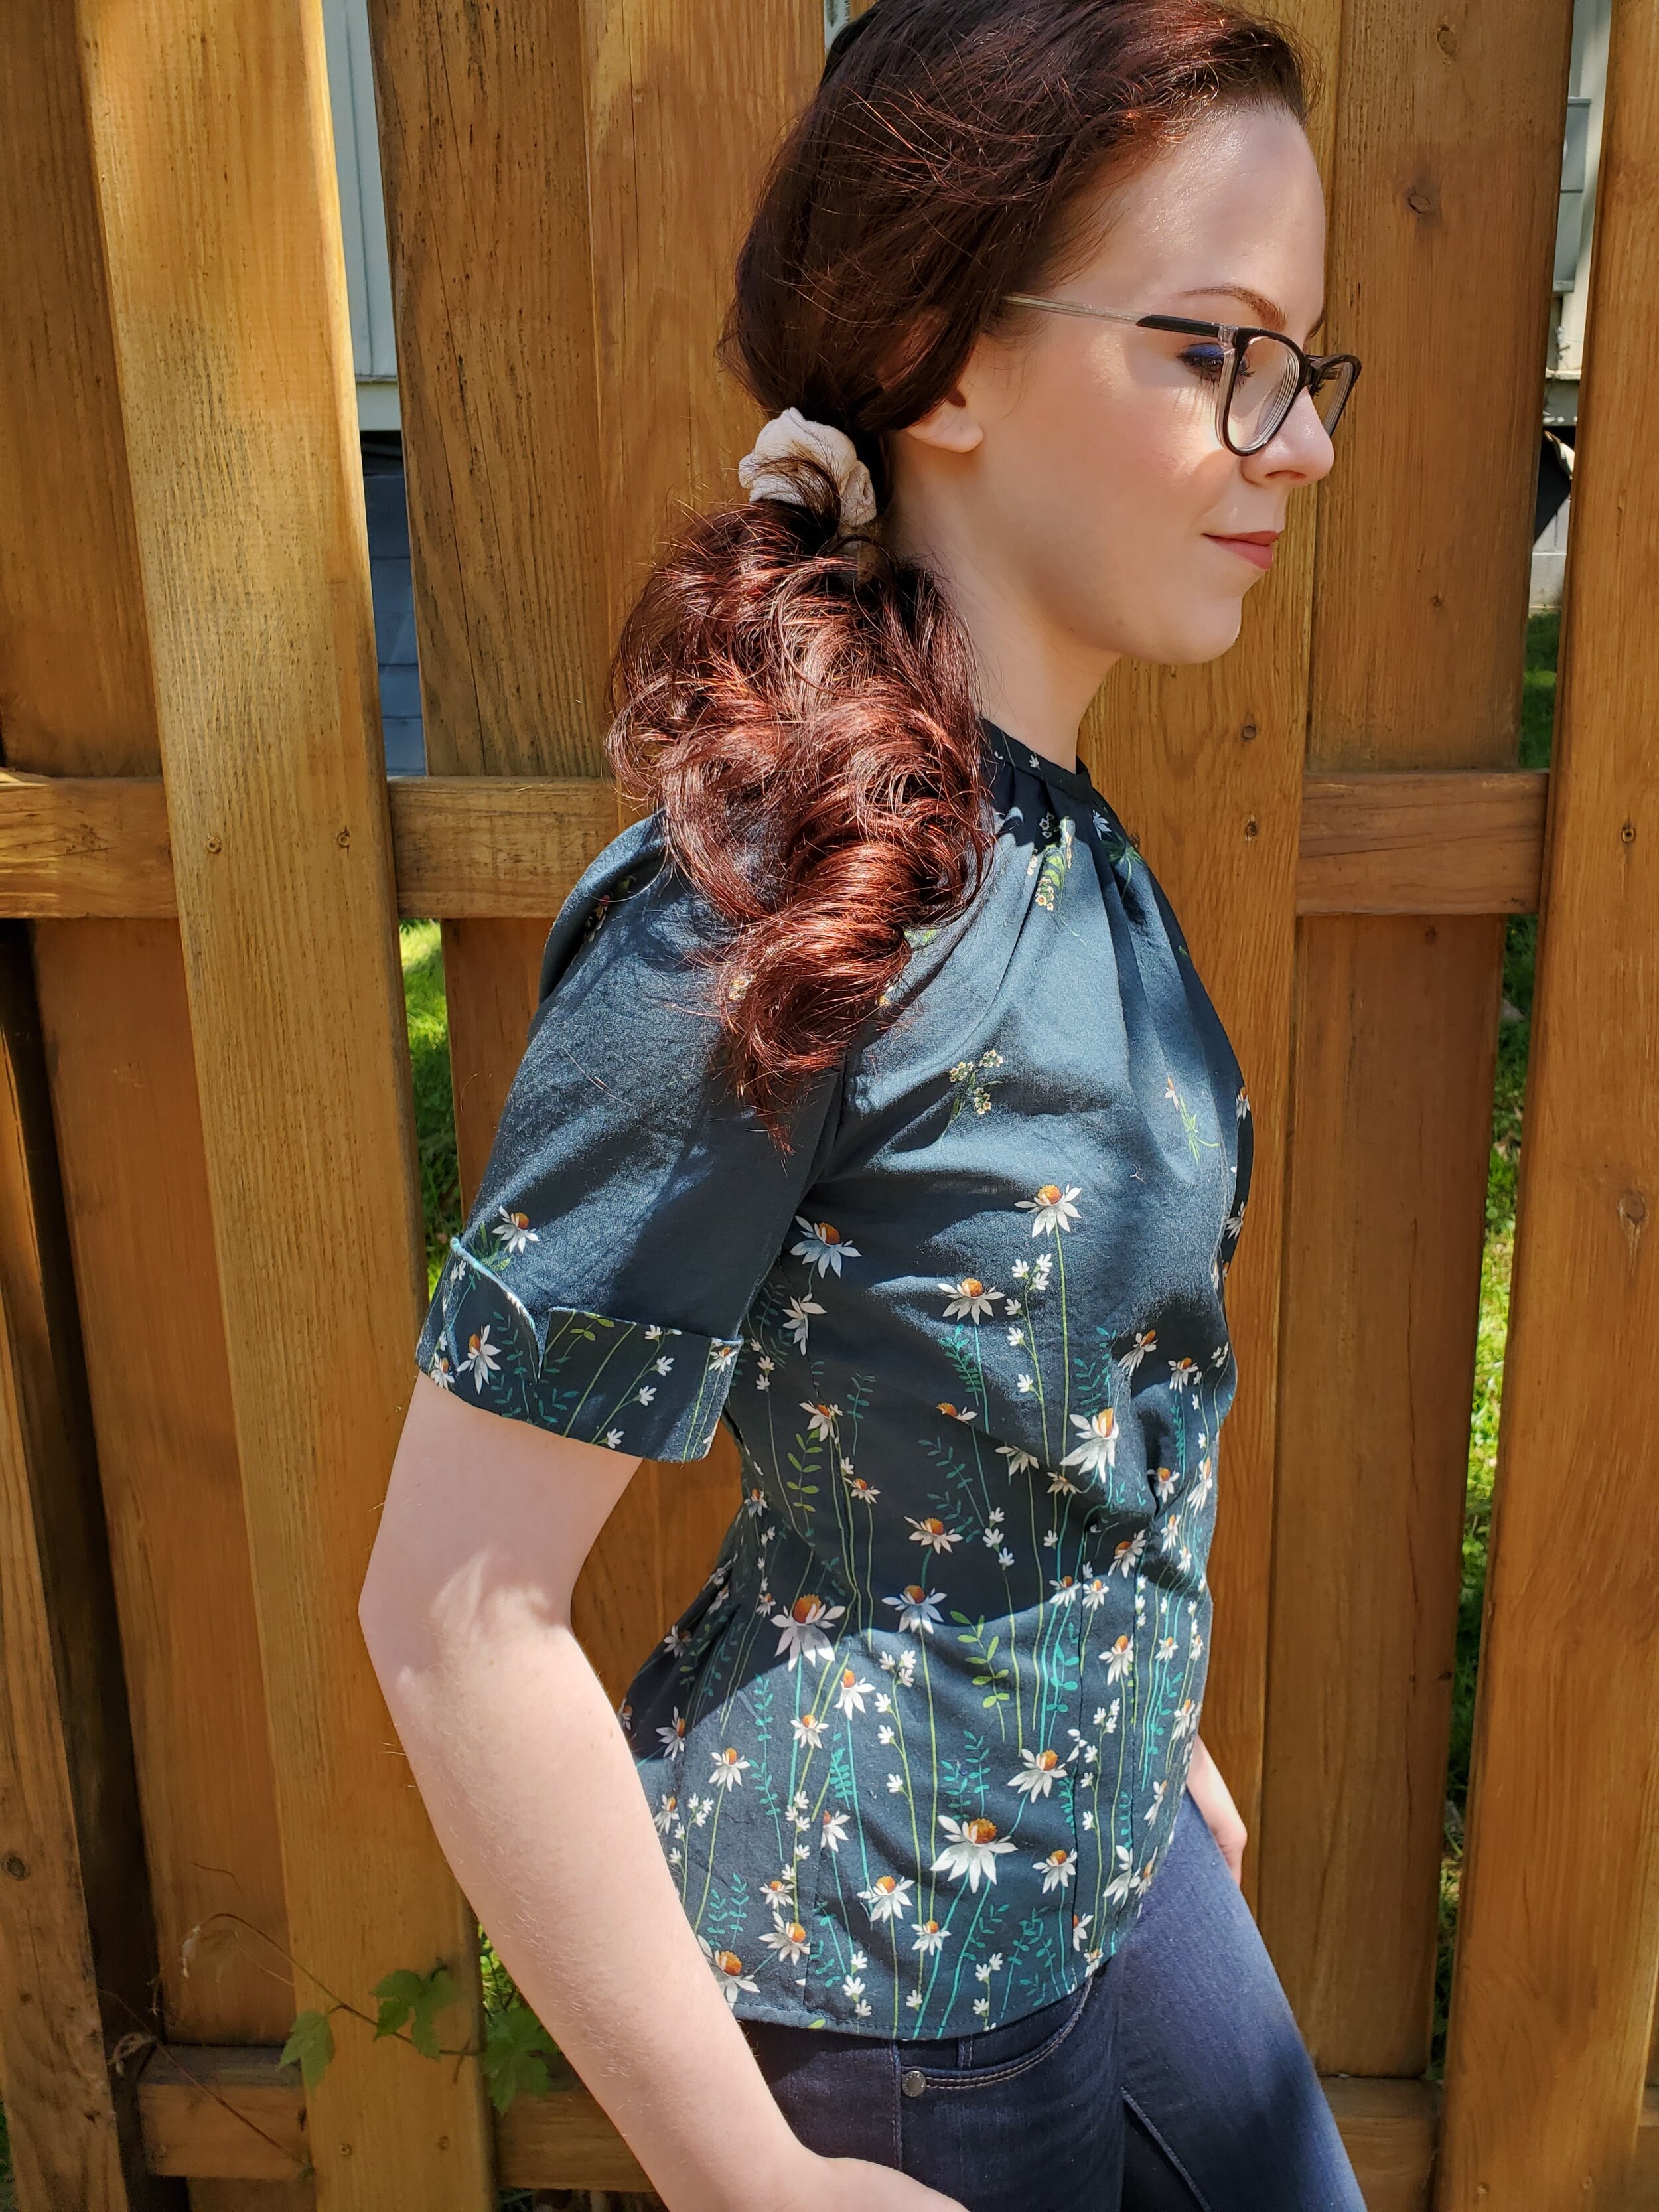
I’m really excited to share my first project with you as part of the Mood Sewing Network! When I had the opportunity to pick a fabric from Mood’s collection, it was almost inevitable what I landed on: I had long admired the border and panel floral prints Mood has produced for their own fabric line and now had a great excuse to try one! I’m on a big blouse-making kick right now and went through my pattern stash and pulled out this vintage McCall’s blouse pattern I had purchased as part of a set on Etsy ages ago. I paired it with this “Growing Distant” cotton voile panel from Mood.

I absolutely love cotton voile (pronounced “vwalh” in the French way or ”voy-ill” in the American, I prefer the French!). It’s a very soft, super lightweight weave that’s more dense than a gauze but silky soft in hand thanks to the combed cotton fibers. The drape is billowy - not quite as stiff as batiste which is a similar weight but a much crisper hand. The fabric is on the sheer side, but with this dark color and close fit it doesn’t need much of a lining, especially if I wear skin toned undergarments. It’s perfect for a blouse like this because it will handle the volume at the neck very well without looking stiff and awkward the way my muslin did! The print is adorable and feels very seasonally appropriate as there are little white flowers popping up all over my neighborhood. I’m also very into dark blues right now which is why I chose this colorway, although it does come in a tan colorway, as well. Despite it’s light weight, cotton voile is still very stable and easy to sew with which makes it a great choice for beginners! And Mood always tends to include some voile prints in their fabric collections, which makes it a great step up from sewing with the fun prints but stiff hand of quilting cotton.

A panel fabric is like any border print, except instead of the print running along the selvedge, it runs across the grain of the fabric selvedge-selvedge and is repeated at a regular interval. The panel length of this fabric is 24.5” and when I measured my pattern I saw it was about the exact length I needed! So I ordered two panels (they come cut as a single piece) and got to work tracing off the pattern and making a muslin.
The first thing I love about this vintage pattern is it has the seamlines marked! Which made my seamline-marking heart very happy. I traced the seamlines onto sturdier paper because a) I dislike using tissue paper and b) anticipated needing to make pattern alterations. My first mockup showed me clearly two things: I had an excess of volume in the gathered area and a severe lack of volume in the hips! It cannot be seen from the pattern drawing but the bottom half of this blouse is shaped with tucks sewn from the waist down to the hem to ensure a close fit. Well, on the back half of the pattern the tucks were basically straight from the waist to the hips which was mildly mind boggling to me: where does your butt go? As someone who is shaped extremely straight on the front and curvy on the back this needed to change. So my first alterations were to remove 1” in length from the front and back bodice (a pretty standard adjustment for me as I am short waisted) and to change the shape of the back darts - raising them slightly to hit the small of my back and releasing them below the waist to add about 2.5”to the hemline for my derriere. Once I did that I had plenty of room and the side seams were no longer drawing back so I sewed on a sleeve to check the fit.

And that initial fit was not good. It was very obvious that the armhole was too low and the shoulder was too wide. I raised the armhole by almost an inch on my pattern and narrowed the shoulder by 1/2”, then shortened my sleeve cap height to accommodate those changes. Now I had a much better looking sleeve and more range of motion which will be necessary for dong up those buttons on the back! I did all my fittings with a zipper in my muslin to help me put it on but I did plan to do the buttons and button holes on the final piece.

After washing and drying my fabric, I traced my pattern onto it and added 1/2” of seam allowance since it had been removed at the beginning. I placed my pieces with the flowers growing up from the hem. I was able to fit the front and back pieces on one panel, and just needed about half of the second panel for the sleeves, cuffs, and bias binding I needed to cut.
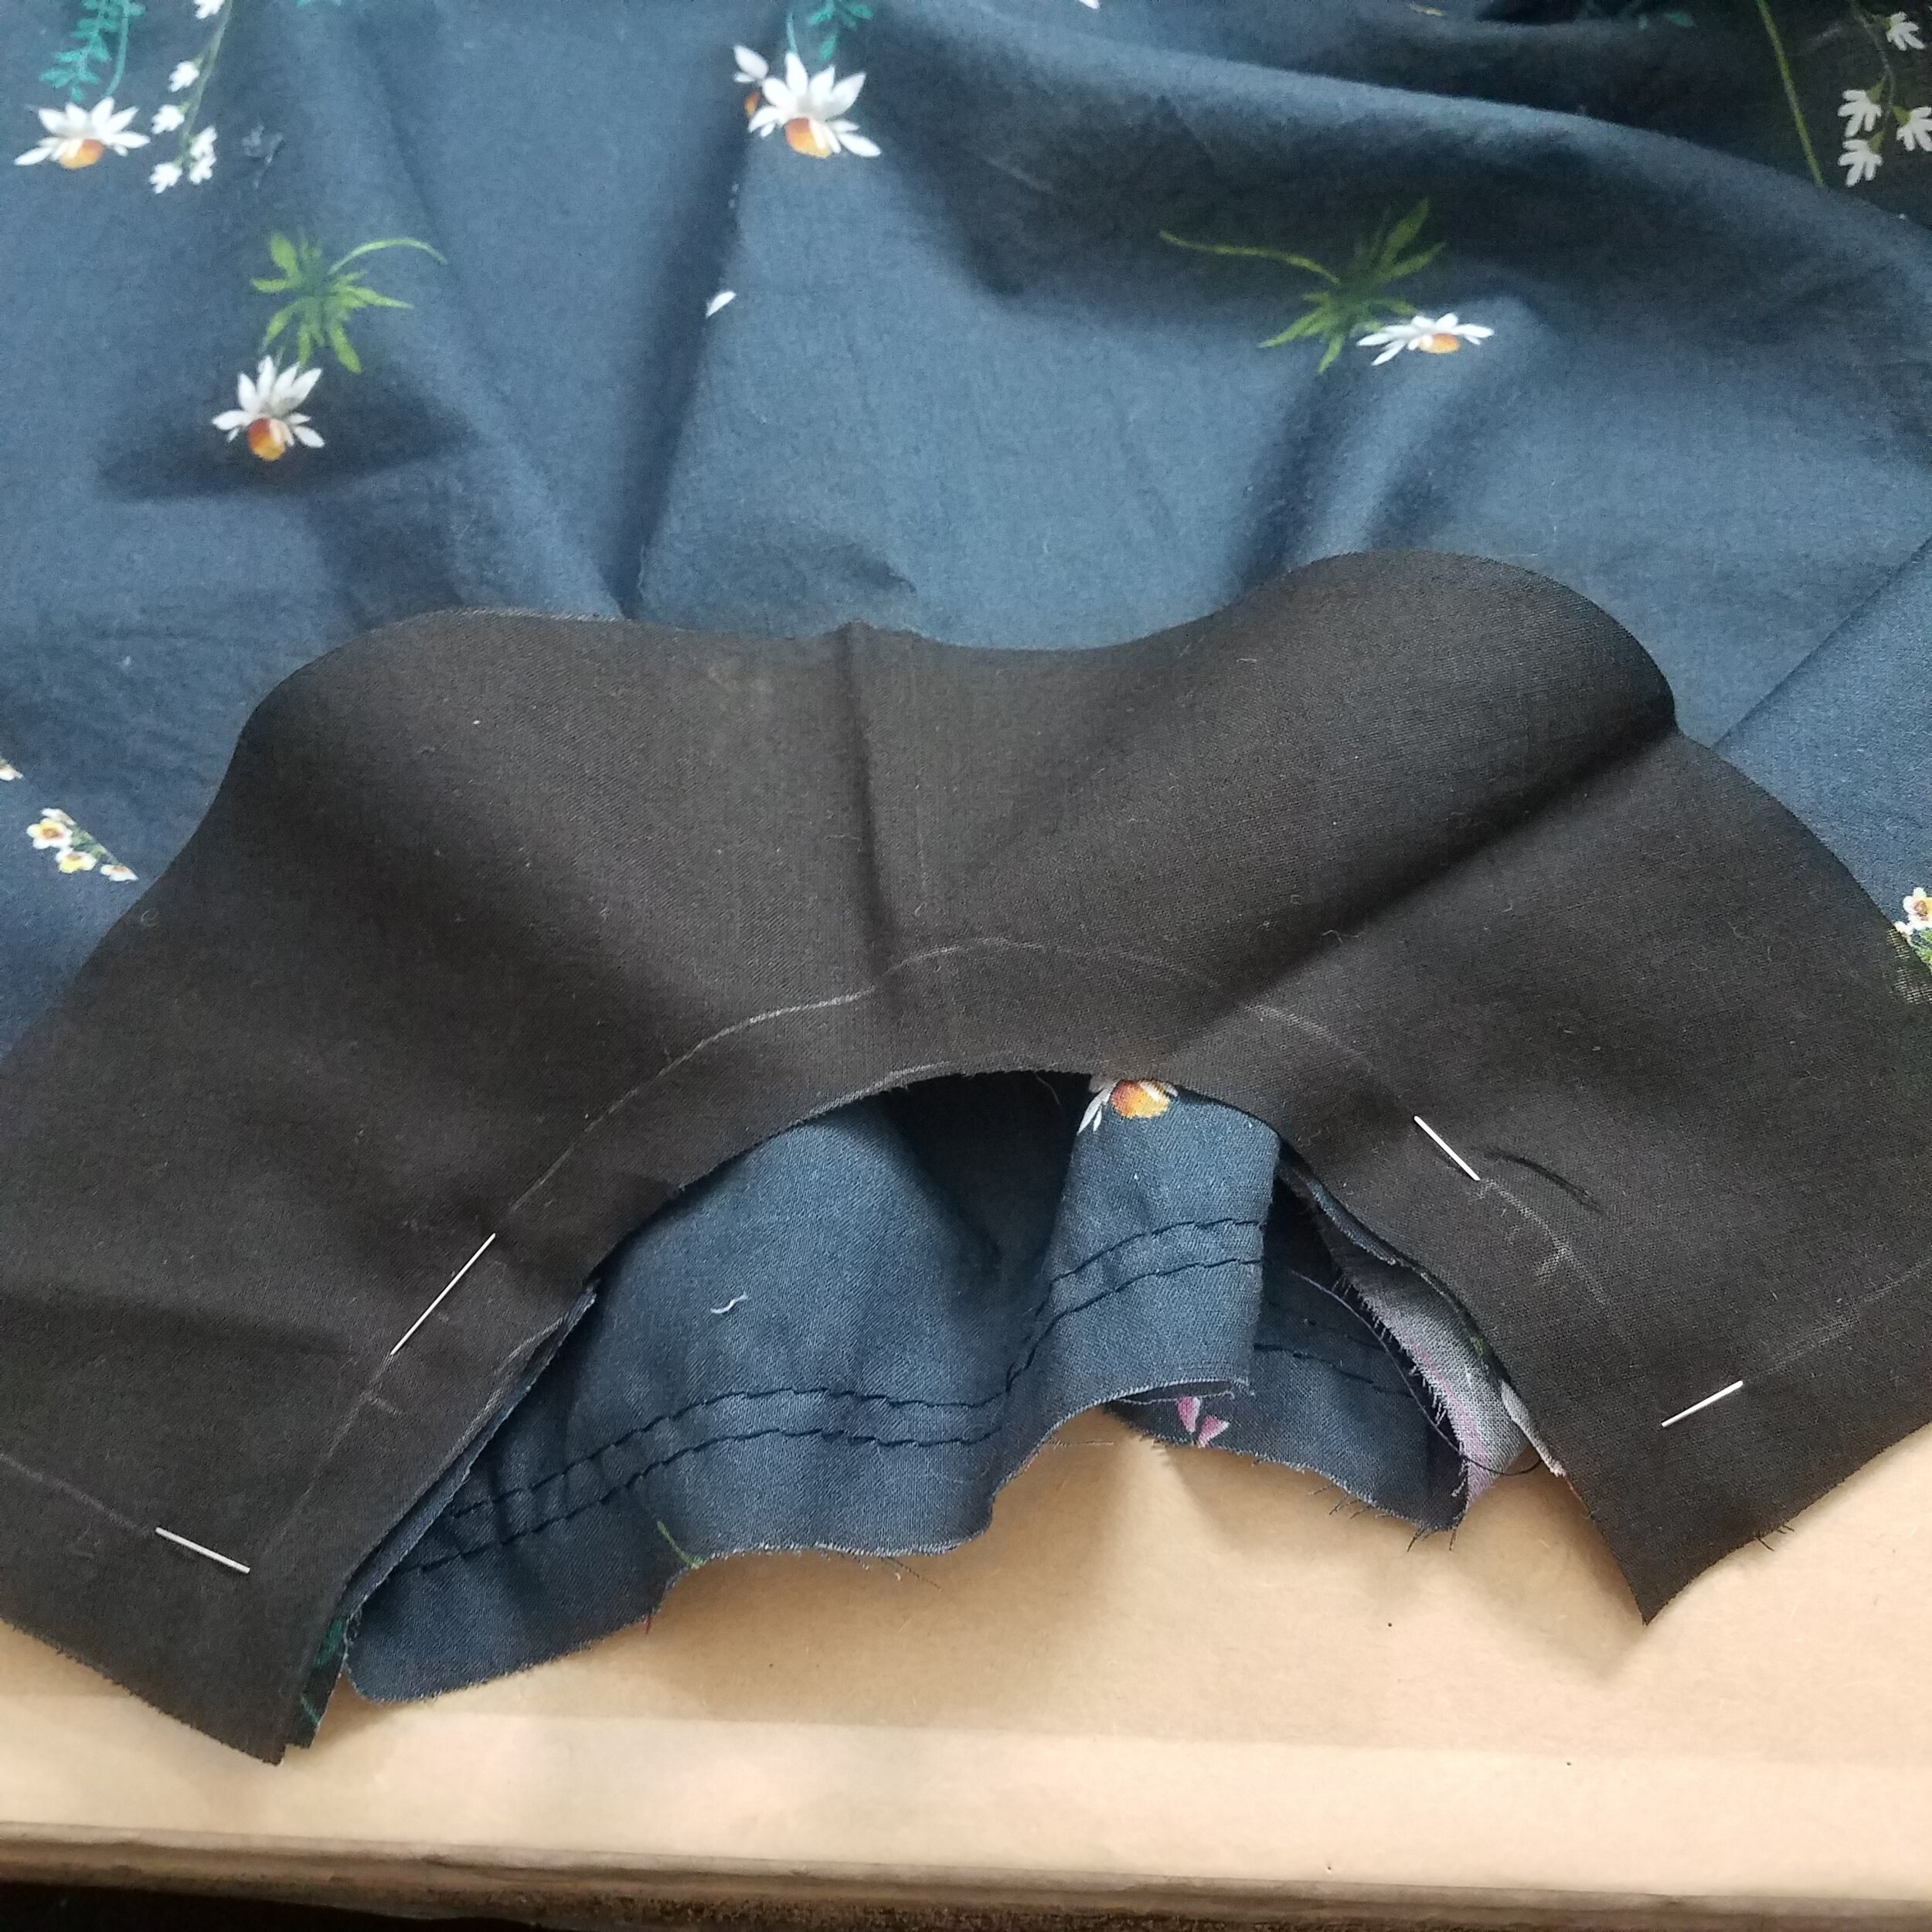
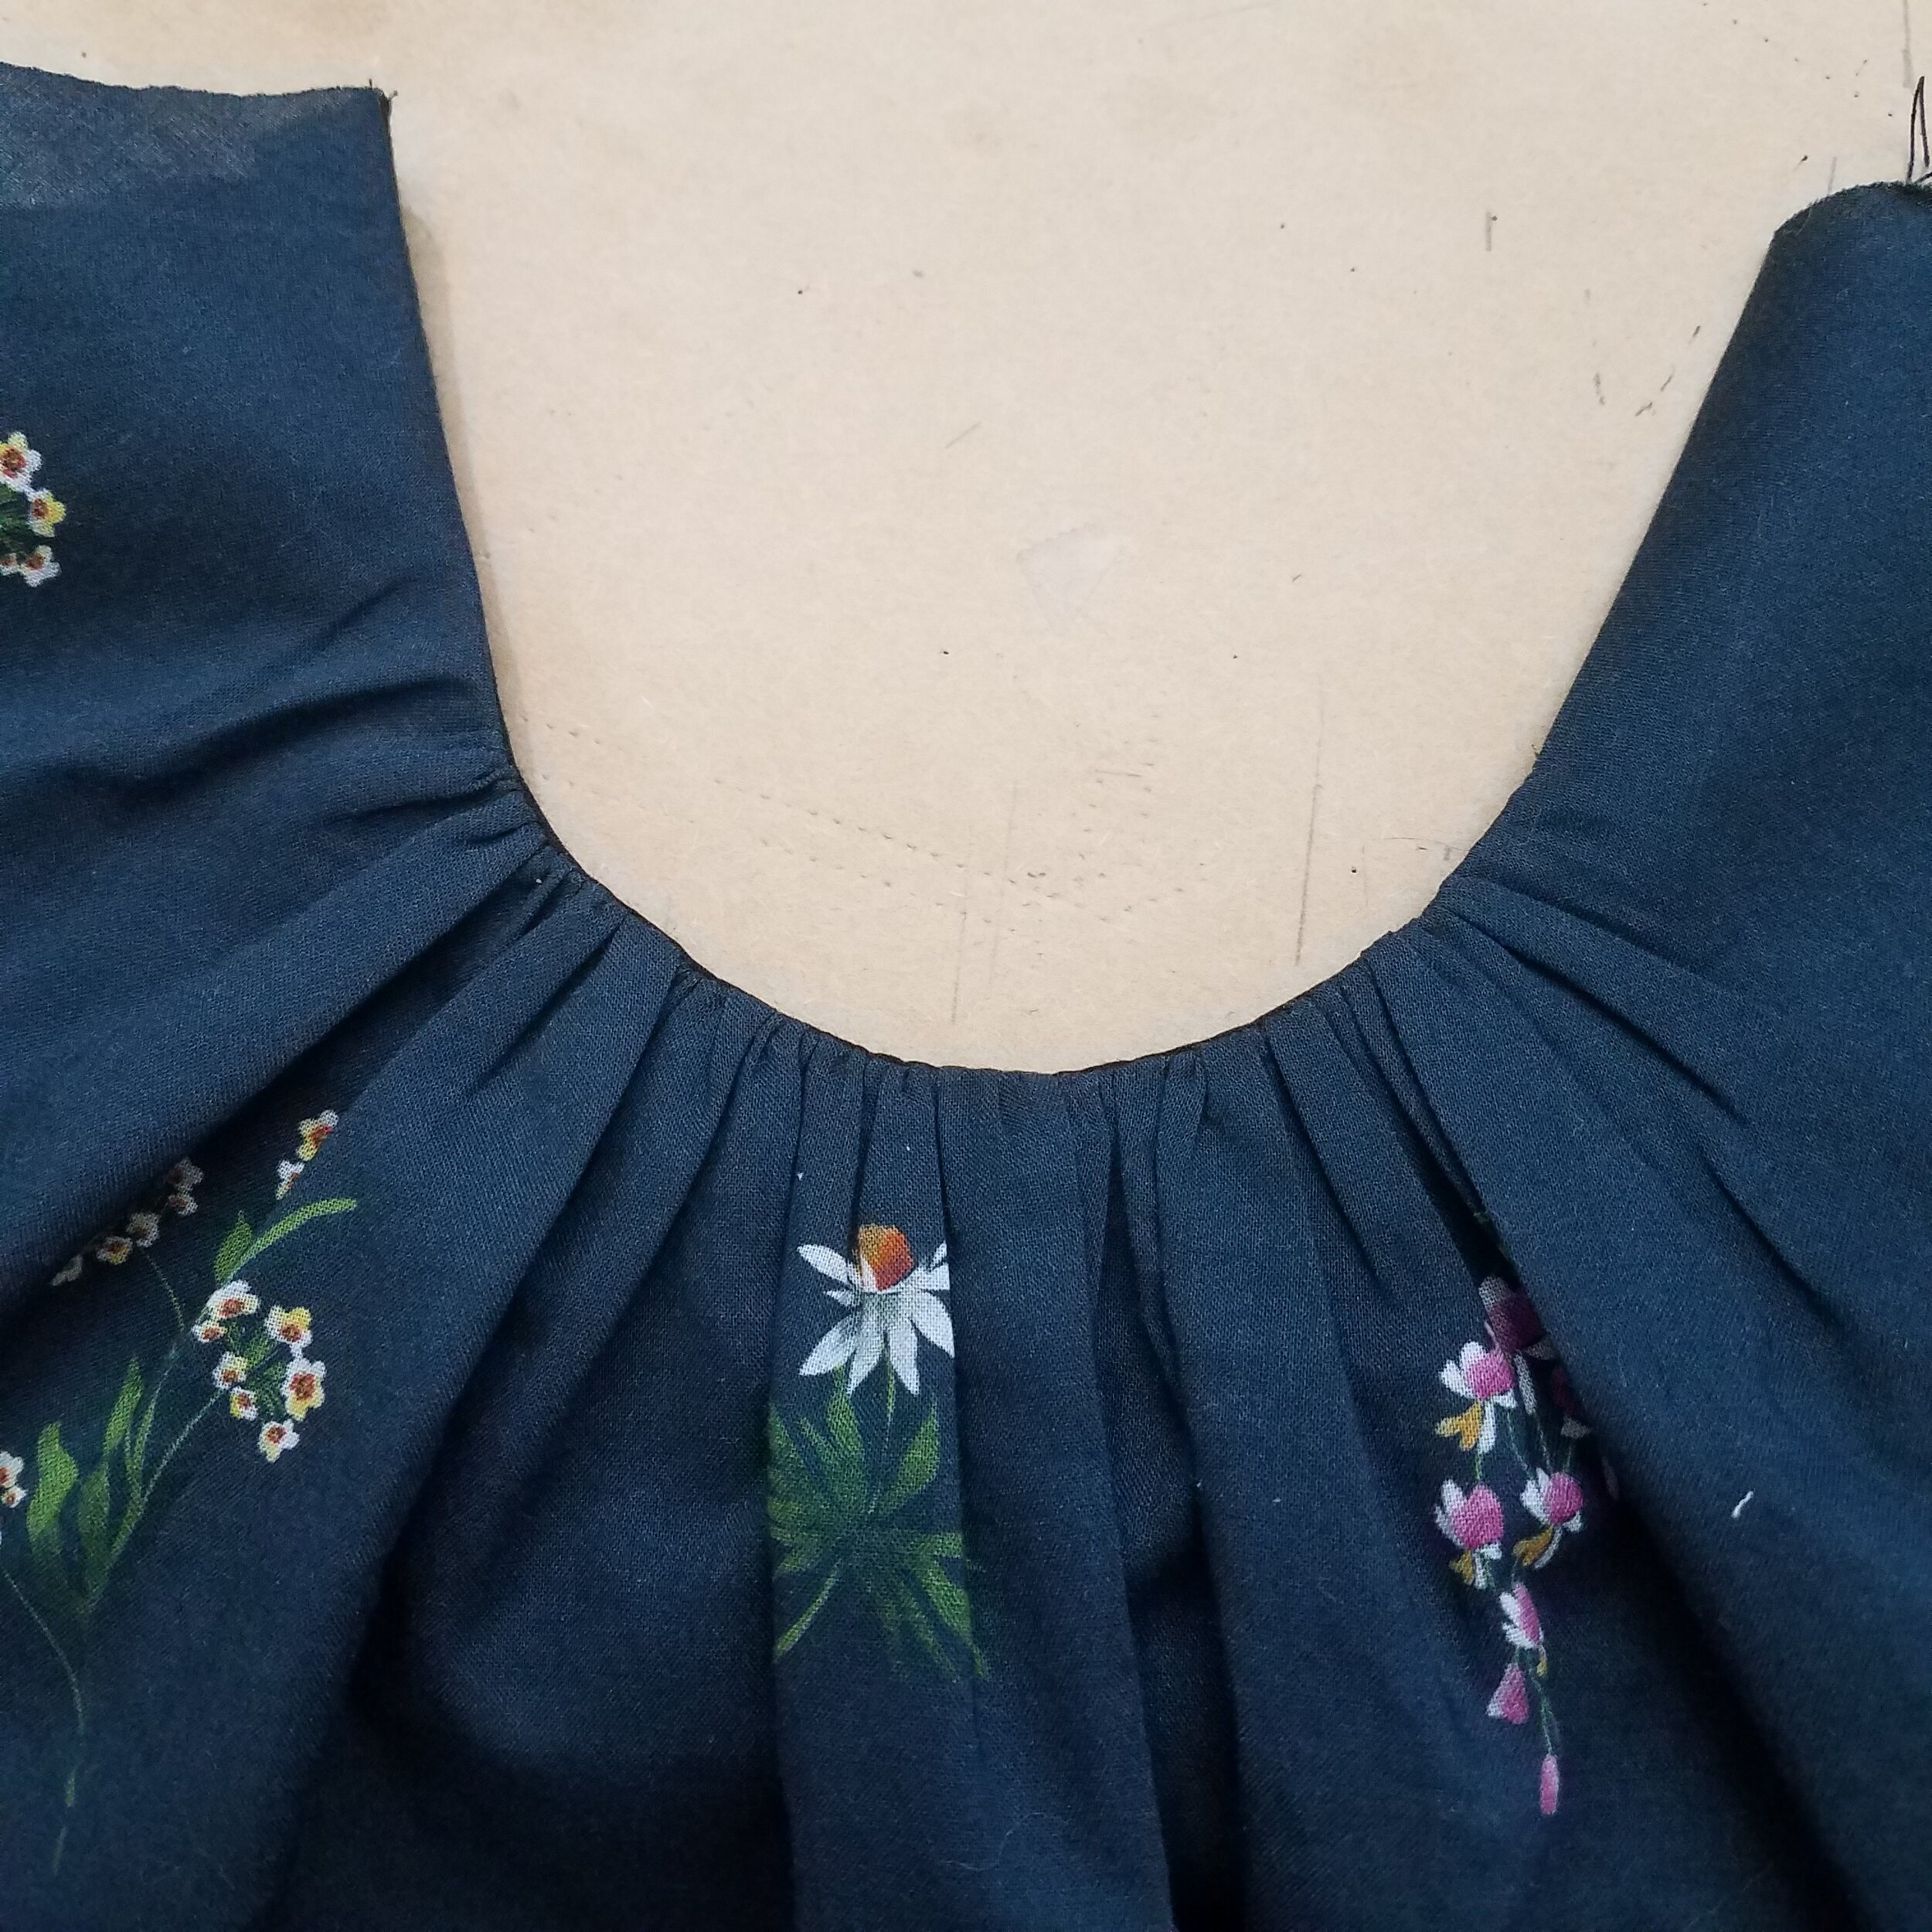
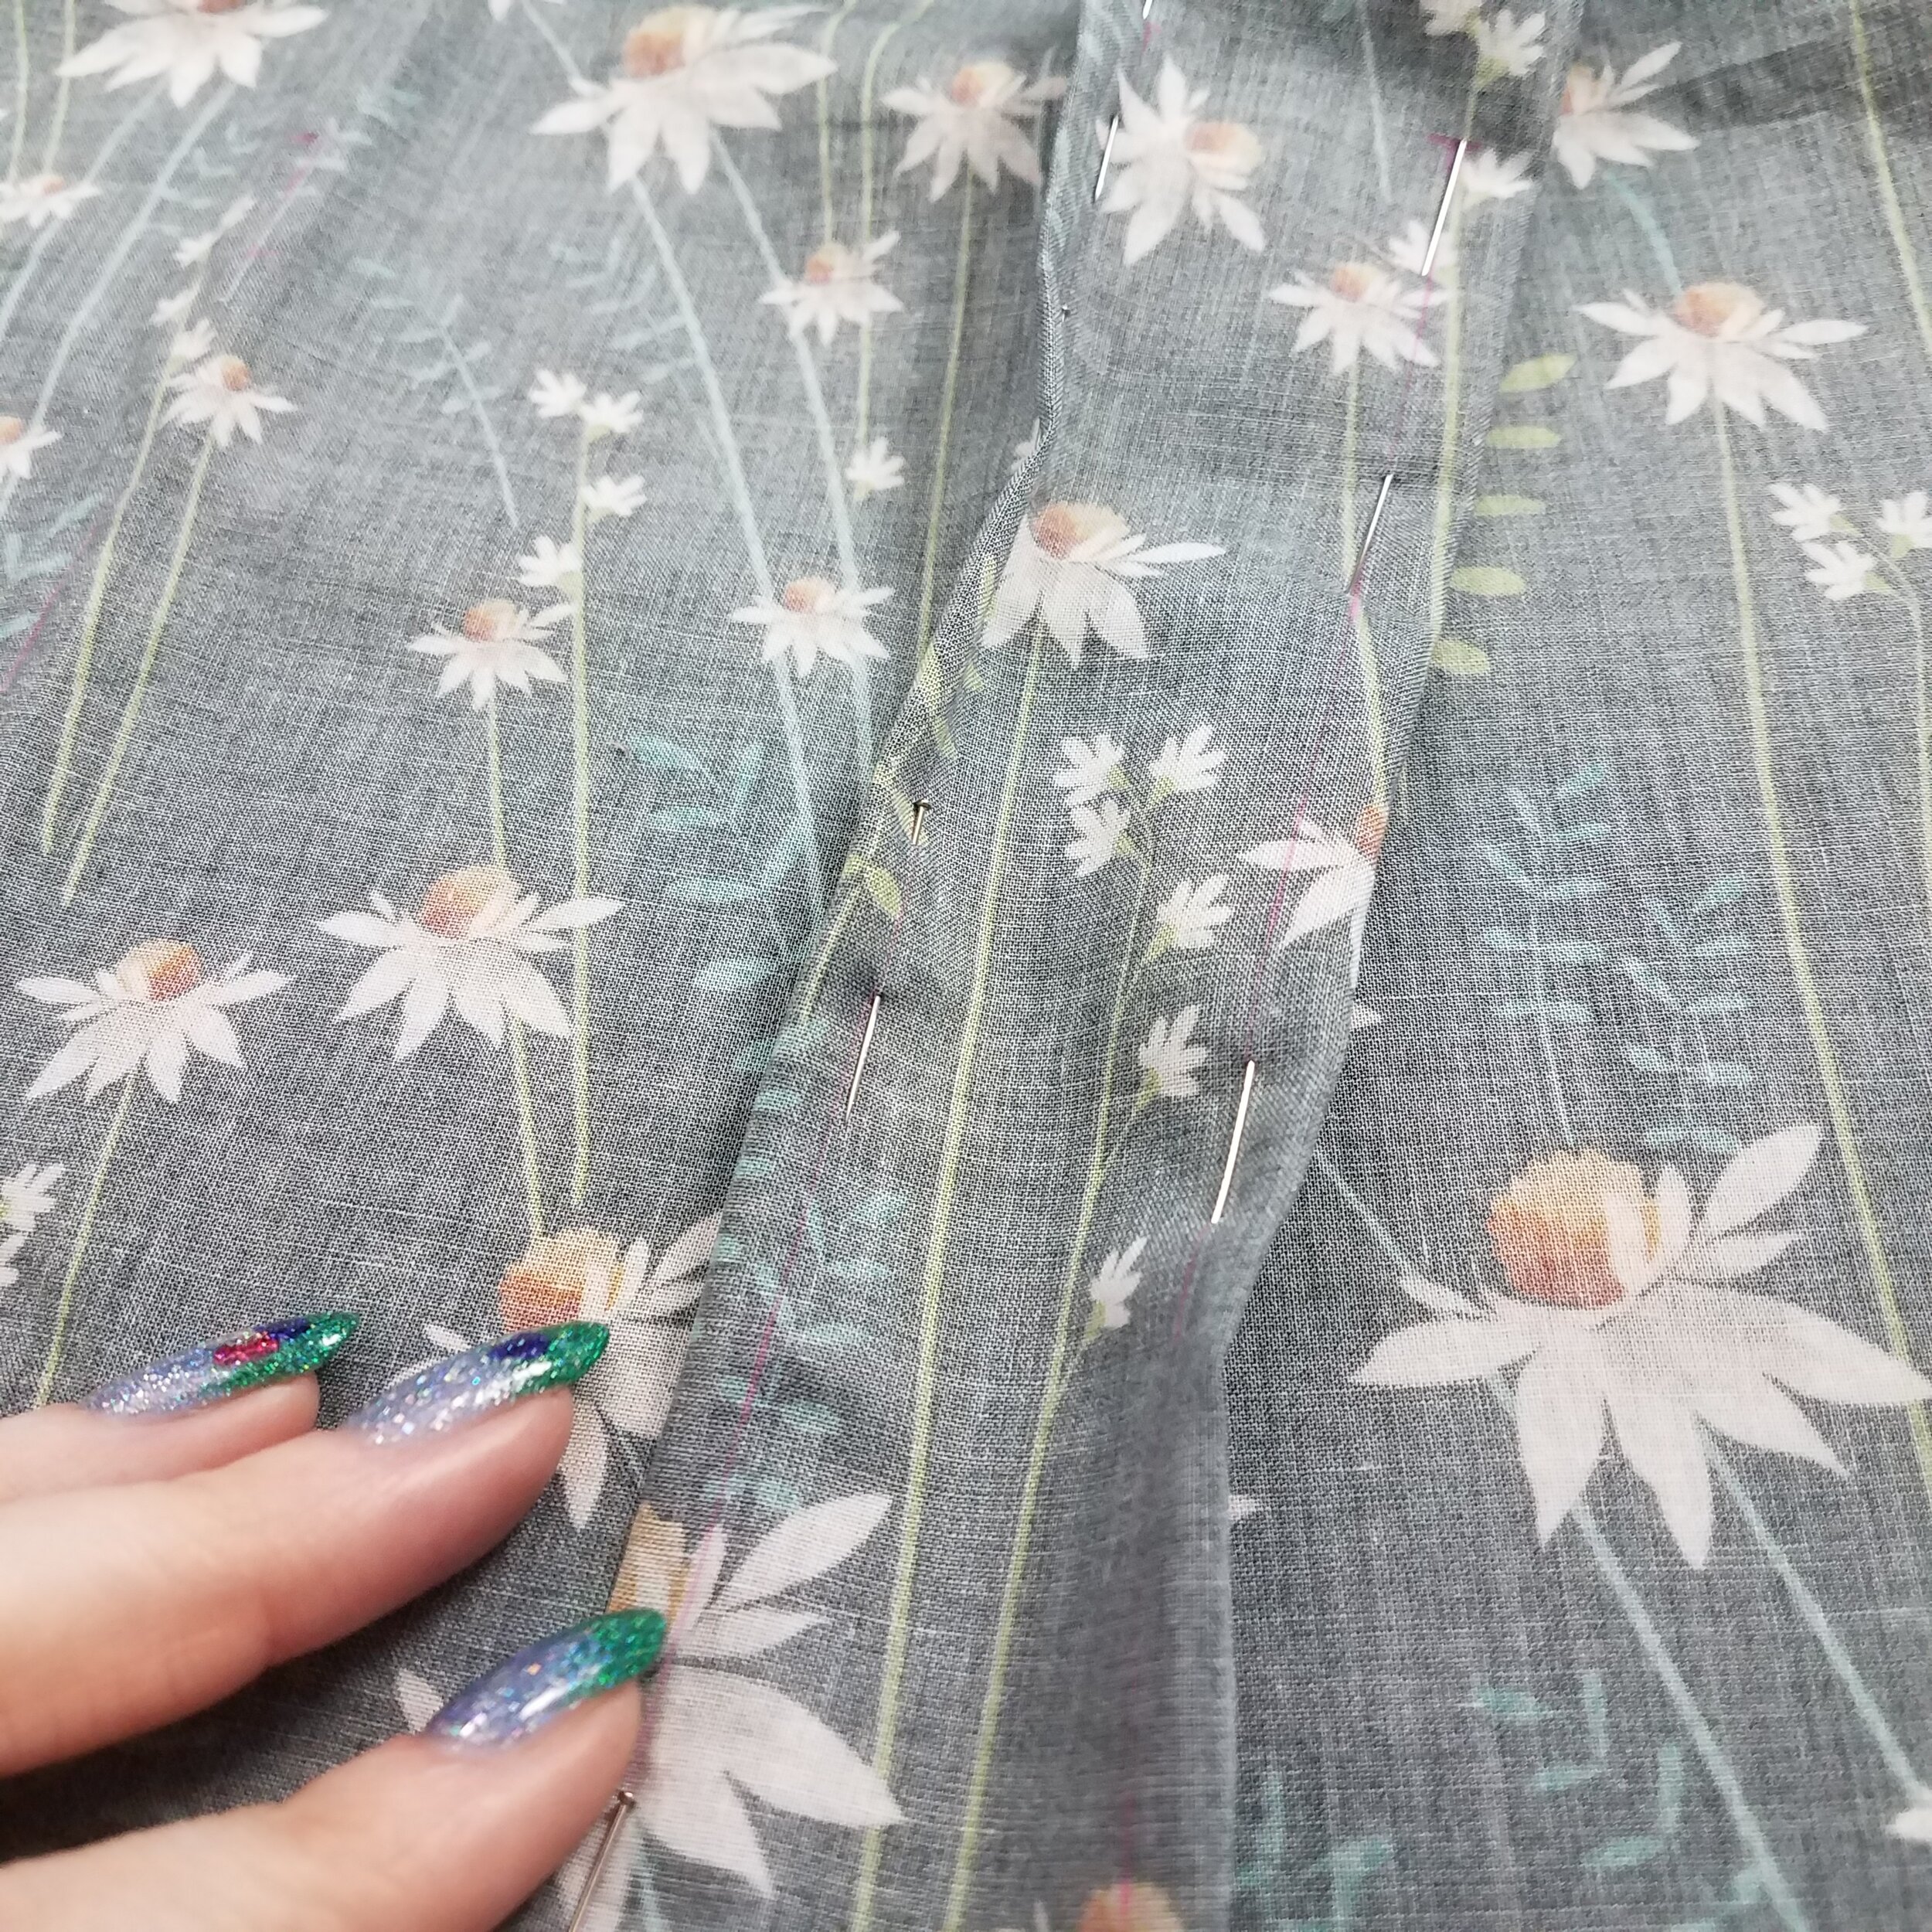
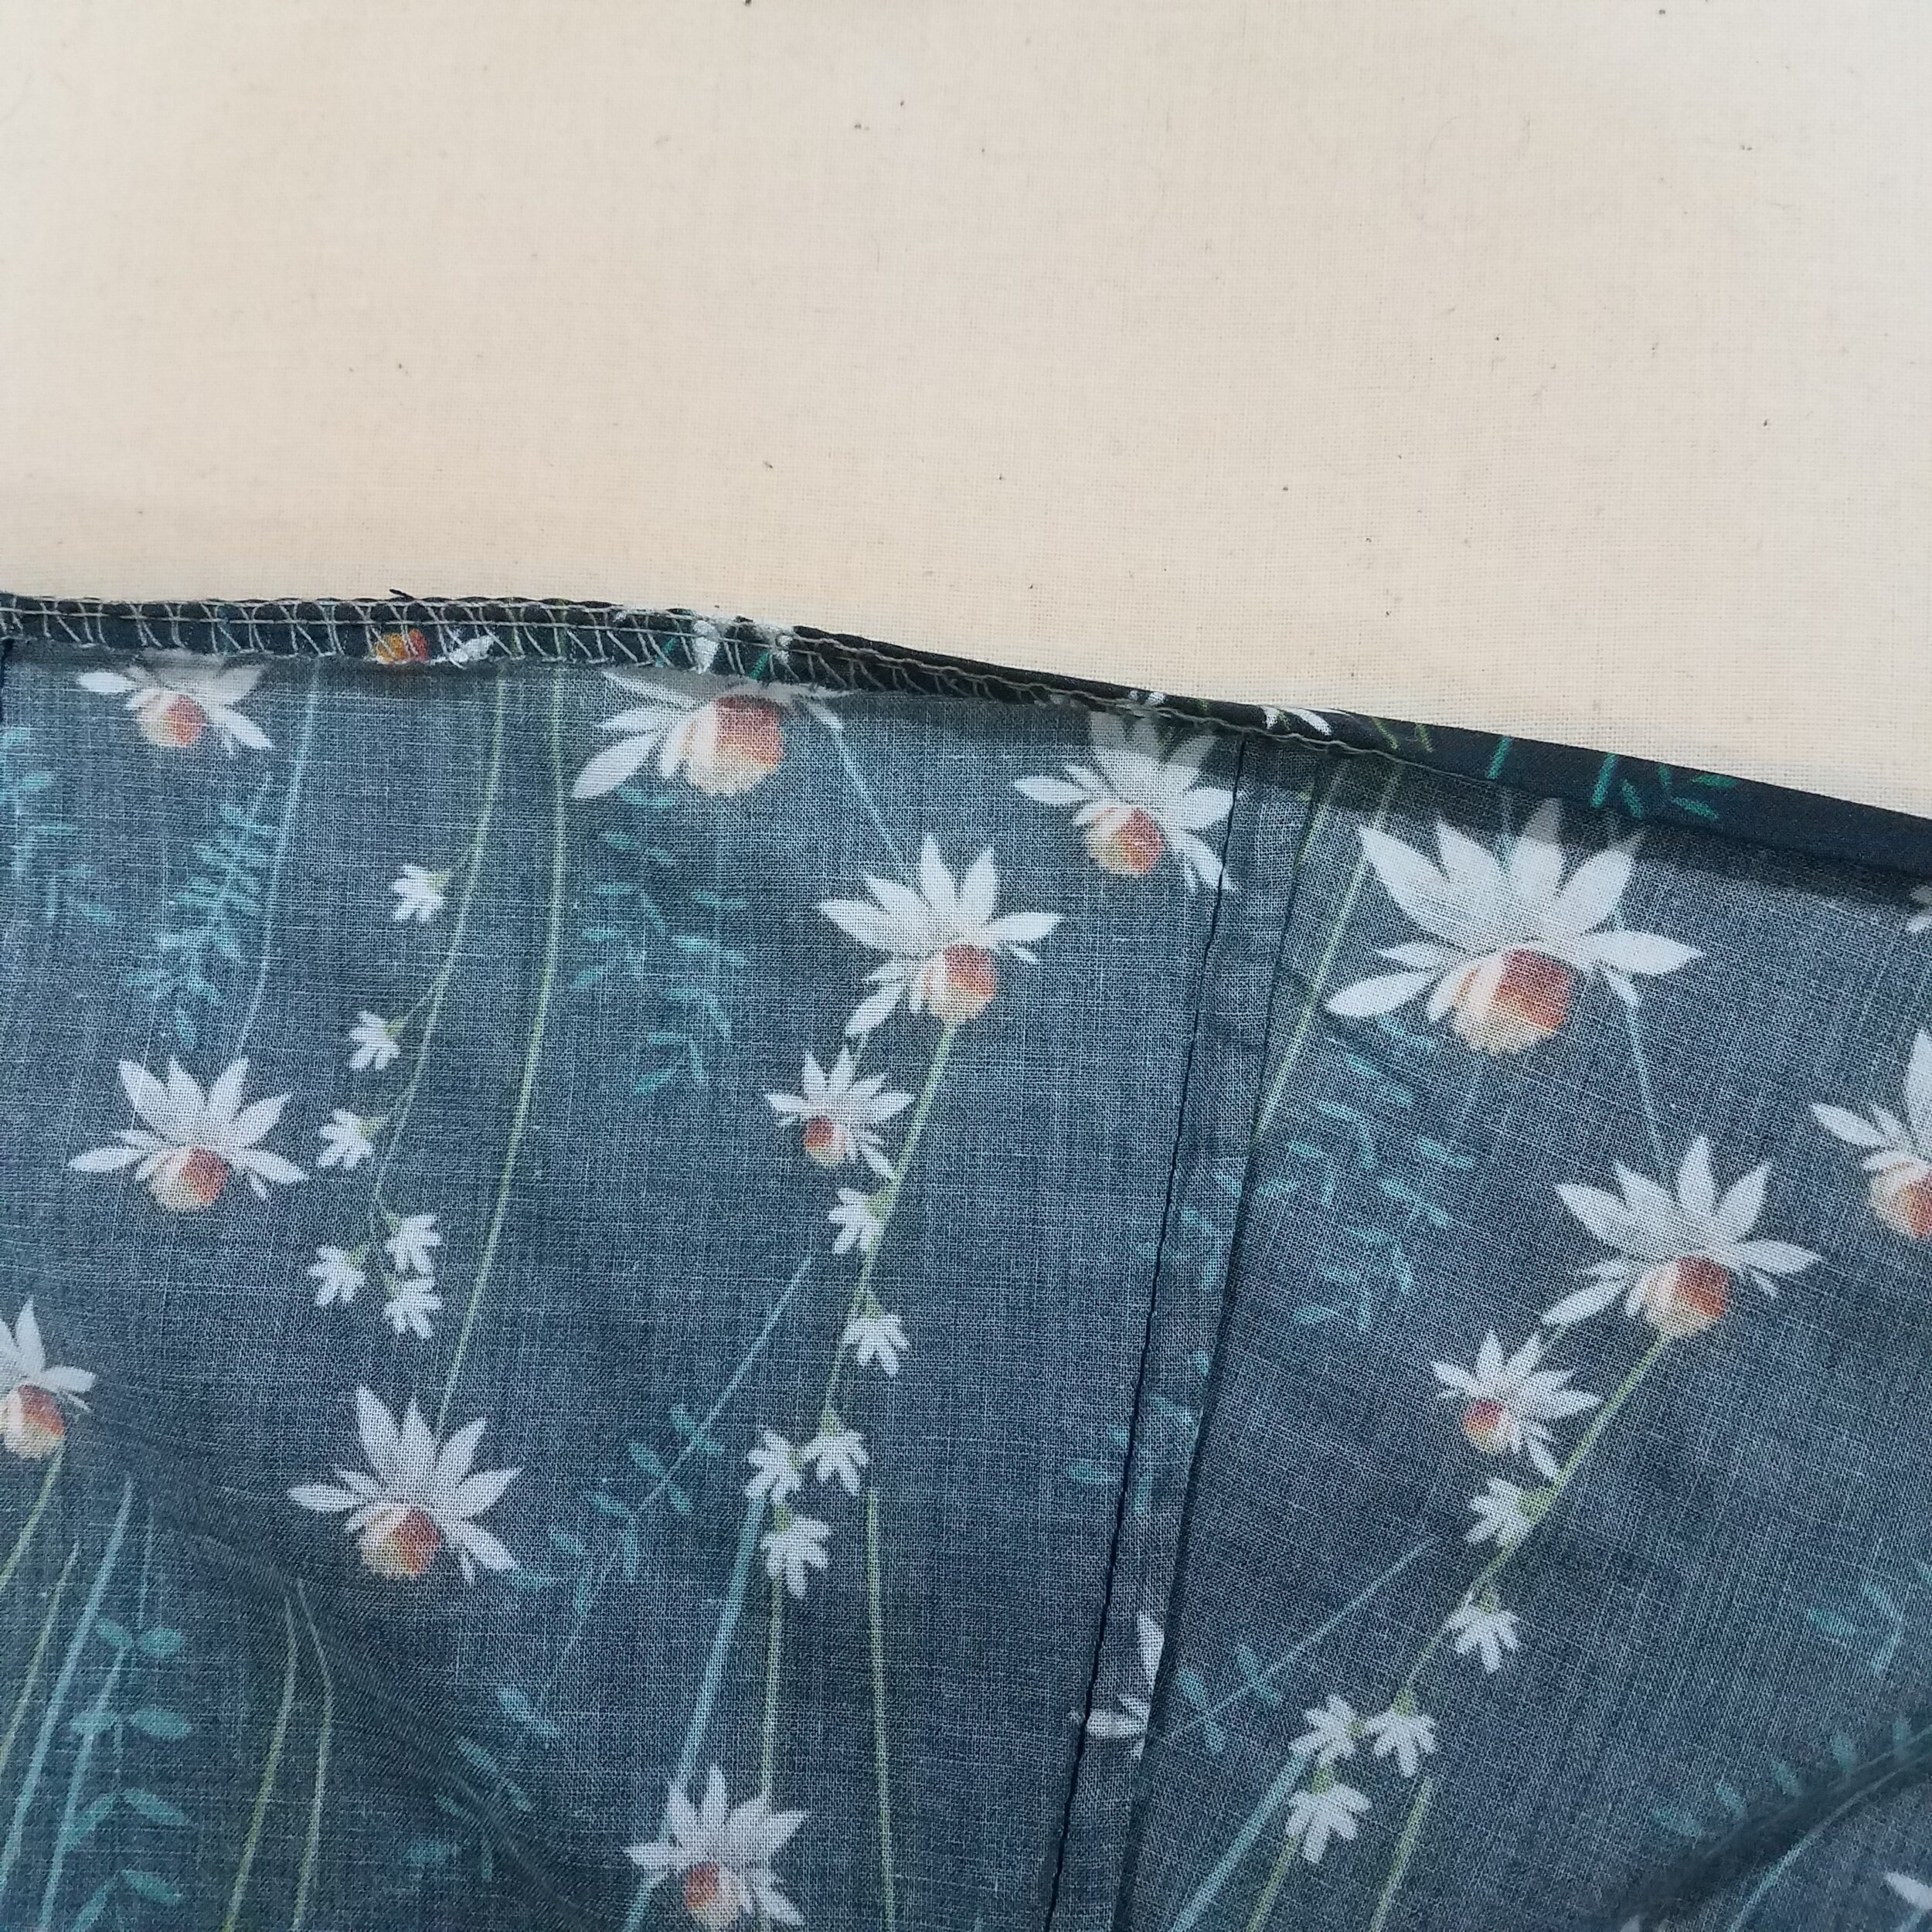
Once I cut my pieces I started sewing it together - the neckline has an interesting construction where, after the gathers are made they are sewn to a facing to set the neckline shape, but the neckline is later bound in bias tape and the facing is cut away to be hidden under the bias tape. My kind of facing! I cut the facing from some cotton batiste scraps I had laying around. I interfaced the cuffs and back button panels with ultra lightweight fusible interfacing and constructed most of the blouse with french seams - voile is lightweight enough to use french seams which I would not use on many cotton fabrics. I made self bias tape and used it to bind the armhole seams as well as the neckline. For the hem I did my favorite method of a narrow double turned hem: serging the bottom then using that serging as a guide for pressing a narrow 1/4” hem and topstitching in place. Thanks to the tucks in the front which run all the way to the hem, a rolled hem would have been difficult on this pattern. I used my industrial straight stitch machine for most of the sewing, and moved to my home machine last for making the button holes. I sewed on the buttons out of my stash by hand and the top was complete!
This top is exactly what I’ve been looking for in tops right now: a defined waist and something I can tuck into a high waisted skirt or pants if I want to! I might borrow the tucks off this pattern for another top in the future because I like the shape so much.

Yes, the buttons in the back are a touch hard to do up on my own - I can get the top 3 putting my arms over my shoulders and the bottom 3 reaching from below, but struggle with the middle button! There is a snap hidden right over the waist (part of the pattern) to keep it closed without much bulk if I tuck it in. It’s kind of weird that the plackets don’t sit directly on top of each other, but I triple checked and that’s as per the pattern!

The lightweight cotton voile was so comfortable to wear walking around my neighborhood to take these photos so I’m super glad to add this cute, comfortable, and versatile blouse to my wardrobe!

Rhianna says, “Thank you Mood!”
Thank you so much to Mood for sponsoring this project and check back next month to see another Mood Sewing Network make! And remember if you’re interested in this or any other Mood fabrics, you can use the code “MSNJenn” for 10% off your next order!

